
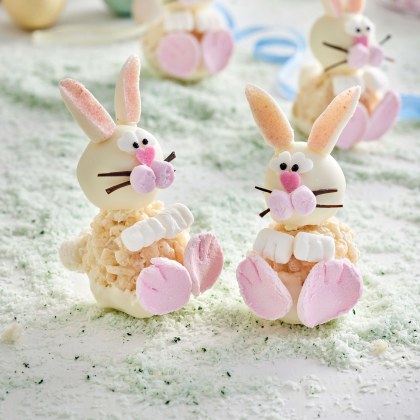
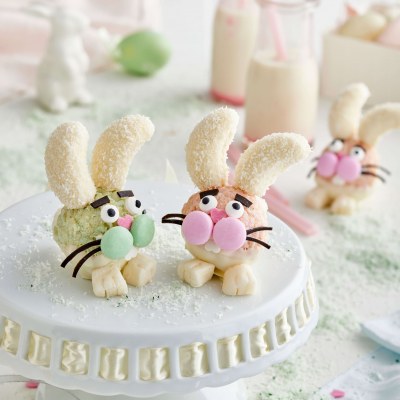
White Crackle Bunnies
Prep: 30 min + 1.5 hrs chilling time
Makes: 12 white crackle bunnies
Serves: 12
Difficulty: Cuisine: Saved: | 151 | Recipe by: Copha |
Recipe Shopping List
White Crackle Bunnies
Ingredients:
White Chocolate Crackle Mixture
Decorations
White Crackle Bunny Heads
Create classic and new dessert treats with Copha Vegetable Shortening
Learn more here


More Treats recipes from Copha


")


No reviews for this recipe yet.
Feedback and Reviews