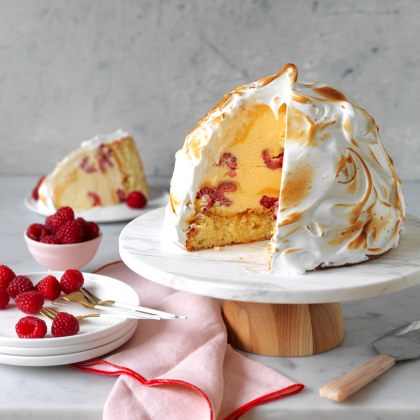
Lemon Curd Bombe Alaska
Prep: 30 minutes
Cook: 15 minutes
Serves: 8
Difficulty: Cuisine: Saved: | 56 | Recipe by: Australian Eggs |
Recipe Shopping List
Lemon Curd Bombe Alaska
Ingredients:
Lemon Curd
Bombe Alaska
More Ice Cream recipes from Australian Eggs


Absolutely delicious
2 years 5 months ago
Mine worked a treat. I added the sponge a couple of hours before serving as I didn't want it frozen. Everyone absolutely loved it. Takes a couple of days to make, in stages, do be patient. Used a different recipie for tge curd, but all the same. It is the curd that everyone loves. Will definitely make again.
Feedback and Reviews